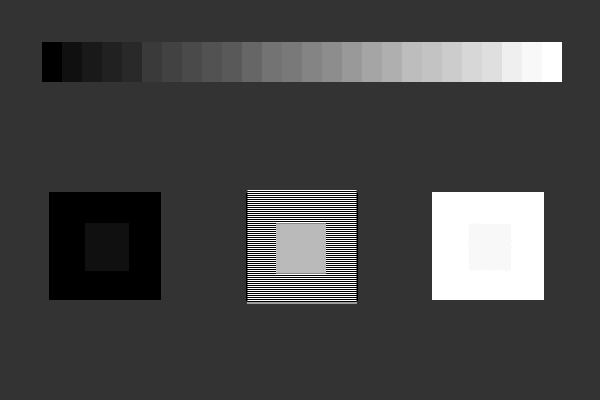
The first image below is a gray scale of 26 equal sized distinct shades. You
should be able to see all the shades if your monitor is set up correctly. The
lower square blocks can be used to adjust your monitor. The black square has
a lighter black square in the center. You should adjust your "Brightness" until
the center square is just visible but the outer square is still black. The white
square has a darker white square in the center. Adjust the contrast of your
monitor until you can just see the center square but the outer square is still
white. The center square is a gamma 2.2 test (some older MAC computers may be
calibrated for 1.8 gamma). If you stand back across the room, you should not
be able to see a difference between the shade of the center block and the shade
of the main part of the block. You can use Adobe Gamma to adjust the gamma of
your monitor. Adobe Gamma comes with the various Photoshop programs. There are
other programs that will allow you to adjust gamma and your video card driver
may allow this as well. Of course, the best way to calibrate your monitor is
with a hardware calibrator that you hang in front of your monitor. They cost
several hundred dollars so are not for everyone. I use one called a Eye-One.
Press F11 on our keyboard to view this full screen.
 |
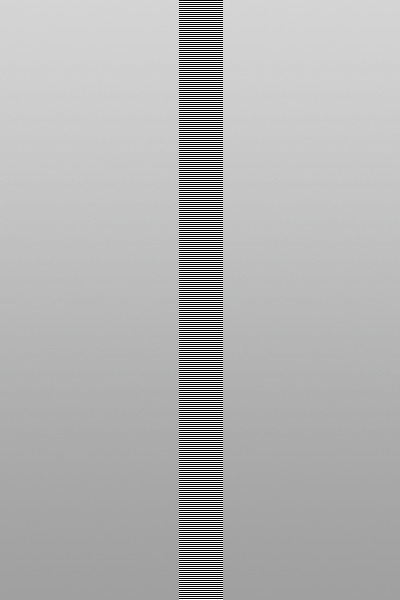
The image below is another way to measure the gamma of your monitor. For a properly set up 2.2 gamma monitor, the center bar should look equally too dark on the top and too light on the bottom with the center matching the background. You may notice that the gamma changes with the viewing angle on your LCD monitor. That is why I use a LaCie CRT monitor for my critical color work.

©2006 Allen Edwards
PaloAltoPhoto.com